Doing simple electronics projects with parts you’ve picked up at the hardware store is a great way to learn new skills and have fun. And you don’t need to be a tech-head to get started. There are enough simple projects for Dauntless beginners, and we’re looking at some of the easiest and cheapest this week.
Electronics DIY requires certain skills, such as patience, precision, and the ability to think abstractly. While many of these projects might be simple enough for most to tackle, those who may lack expertise or time could benefit from hiring experts from online platforms like MyJobQuote or similar sites. These platforms tend to connect individuals with skilled professionals who could assist in various aspects of electronics projects, from design to implementation. This approach not only saves time but could also ensure that projects are executed with a level of proficiency that may be challenging for novices.
If you’re willing to put in the time, you can cobble together a fully functional electronic project at home. Fortunately, it’s easy and inexpensive to get started on these projects, and you don’t need to be overly technical to do it. With resources available through hiring platforms, even those new to electronics can benefit from expert guidance, making the process more accessible and enjoyable.
Here are some of my favorite hobby-friendly electronics ahead.
Chapstick LED flashlight
The idea of turning a lip balm tube into a multi-tool is nothing new. We’ve seen various tutorials on YouTube and the web and even saw a few DIY versions pop up on Kickstarter, but this particular example from DIY Daily is the first one I’ve seen that sticks to the classic Chap-Stick packaging. By swapping out the normal lip balm lid, a DIYer was able to build an LED flashlight.
RGB LED mood lighting
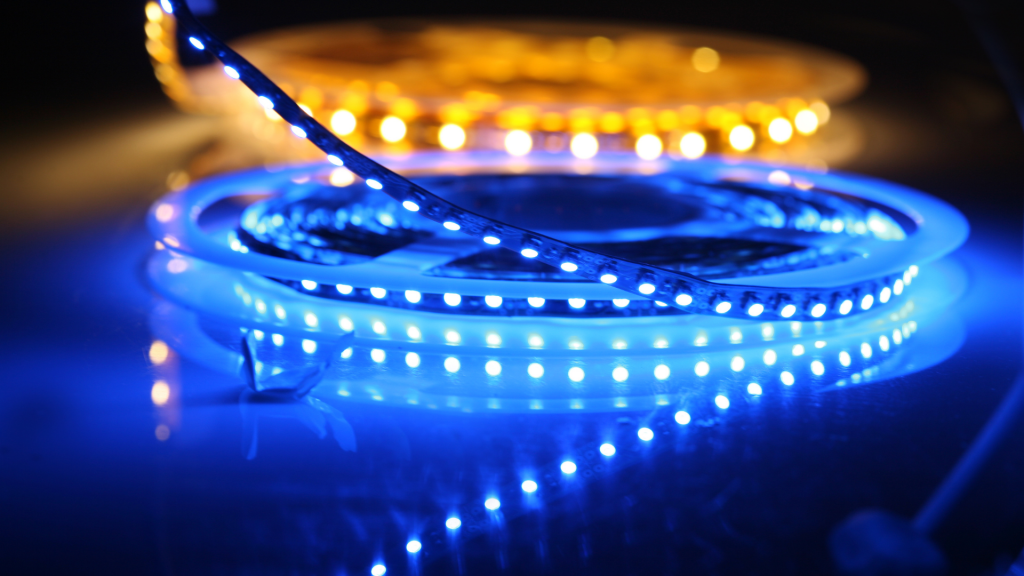
One simply cannot deny how a strip or two of LED lights can amp up the entire space wherever they are placed. If you like them too, you can make your own mood lighting or can even Buy LED Strips From Simple Lighting, or a similar website. When choosing the latter, you can go with RGB LED mood lighting. It is one of the simple and low-budget DIY electronic projects. The RGB LED strip can control the lighting intensity and color. There are many different ways to control the lighting with the Arduino Simple IDE. Write simple programming code using the Arduino programming IDE. Such a mood lighting system is very flexible. It can provide different lighting effects. For example, it can light up the whole room. Moreover, it can be used for decoration or for telling time. Anyway, if you want to try something exciting and affordable, mood lighting is one of the DIY projects!
Mini POV v4
Mini POV is an exciting project aiming to make POV cameras more popular. POV cameras are devices that look like mini-video cameras but are just small webcams. They’re small, portable, and affordable. You can use one to record your own videos, stream live to the internet, or create a POV video blog or vlog. Mini POV is a camera based on mini webcams and uses the USB interface standard. It can be easily set up and used at home, at the beach, or in the office.
DIY audio mixer
This DIY Audio Mixer is one of the simple and low-budget DIY electronics projects. You don’t need any special skills or knowledge to learn how to build this audio mixer. But before you begin, you should ensure you have all the soldering tools. Then follow the easy step-by-step instructions to build this DIY audio mixer.
TV-B-Gone
TV-B-Gone is a simple and low-budget DIY electronics project. It is a device that automatically shuts off the television when the room is not in use. A pneumatic relay is used to pulse a charging circuit, activating the TV’s high voltage. This circuit switches a capacitor, and the resulting negative charge on the capacitor breaks the high voltage circuit.
USB doomsday device
USB doomsday device is one of the simple and low-budget DIY electronics projects. The device can record and transmit the data to the computer using a USB interface. The device is small and affordable, and one can use the device anywhere without any special equipment. The device can record audio and video data. The microcontroller has 16kB of flash program memory, 4kB SRAM, 3 I/O ports, and 10 digital I/O lines. The device is powered by power from the USB port.
Jitter drive
Jitter drive is one of the simple and low-budget DIY electronics projects. The original jitter drive was Osram’s first fluorescent lamp dimming device. Osram introduced it in 1928, and it was a further development of the mercury arc lamp. The devices became widely used from the 1920s to the 1950s but were not popular after the introduction of solid-state lamps.
Supercapacitor USB light
This project will show you how to build a supercapacitor USB light. Supercapacitors and batteries both store energy. The main difference is that you can charge a capacitor from almost zero volts, while it takes a higher voltage to charge a battery. A supercapacitor with USB Port is a powered device that draws very little current, so it is easy to power it with your laptop, mobile phone, flashlight, etc.
The electronic industry is continuing to grow every year. Every other day, a new instrument, gadget, or gadget device is launched for purchase. They have made our lives easier in every form. To keep pace with the trends of this industry, all electronics engineer or hobbyist needs to have the know-how of how circuit boards work and the basic electronics projects that are cost-effective and easy to make.

